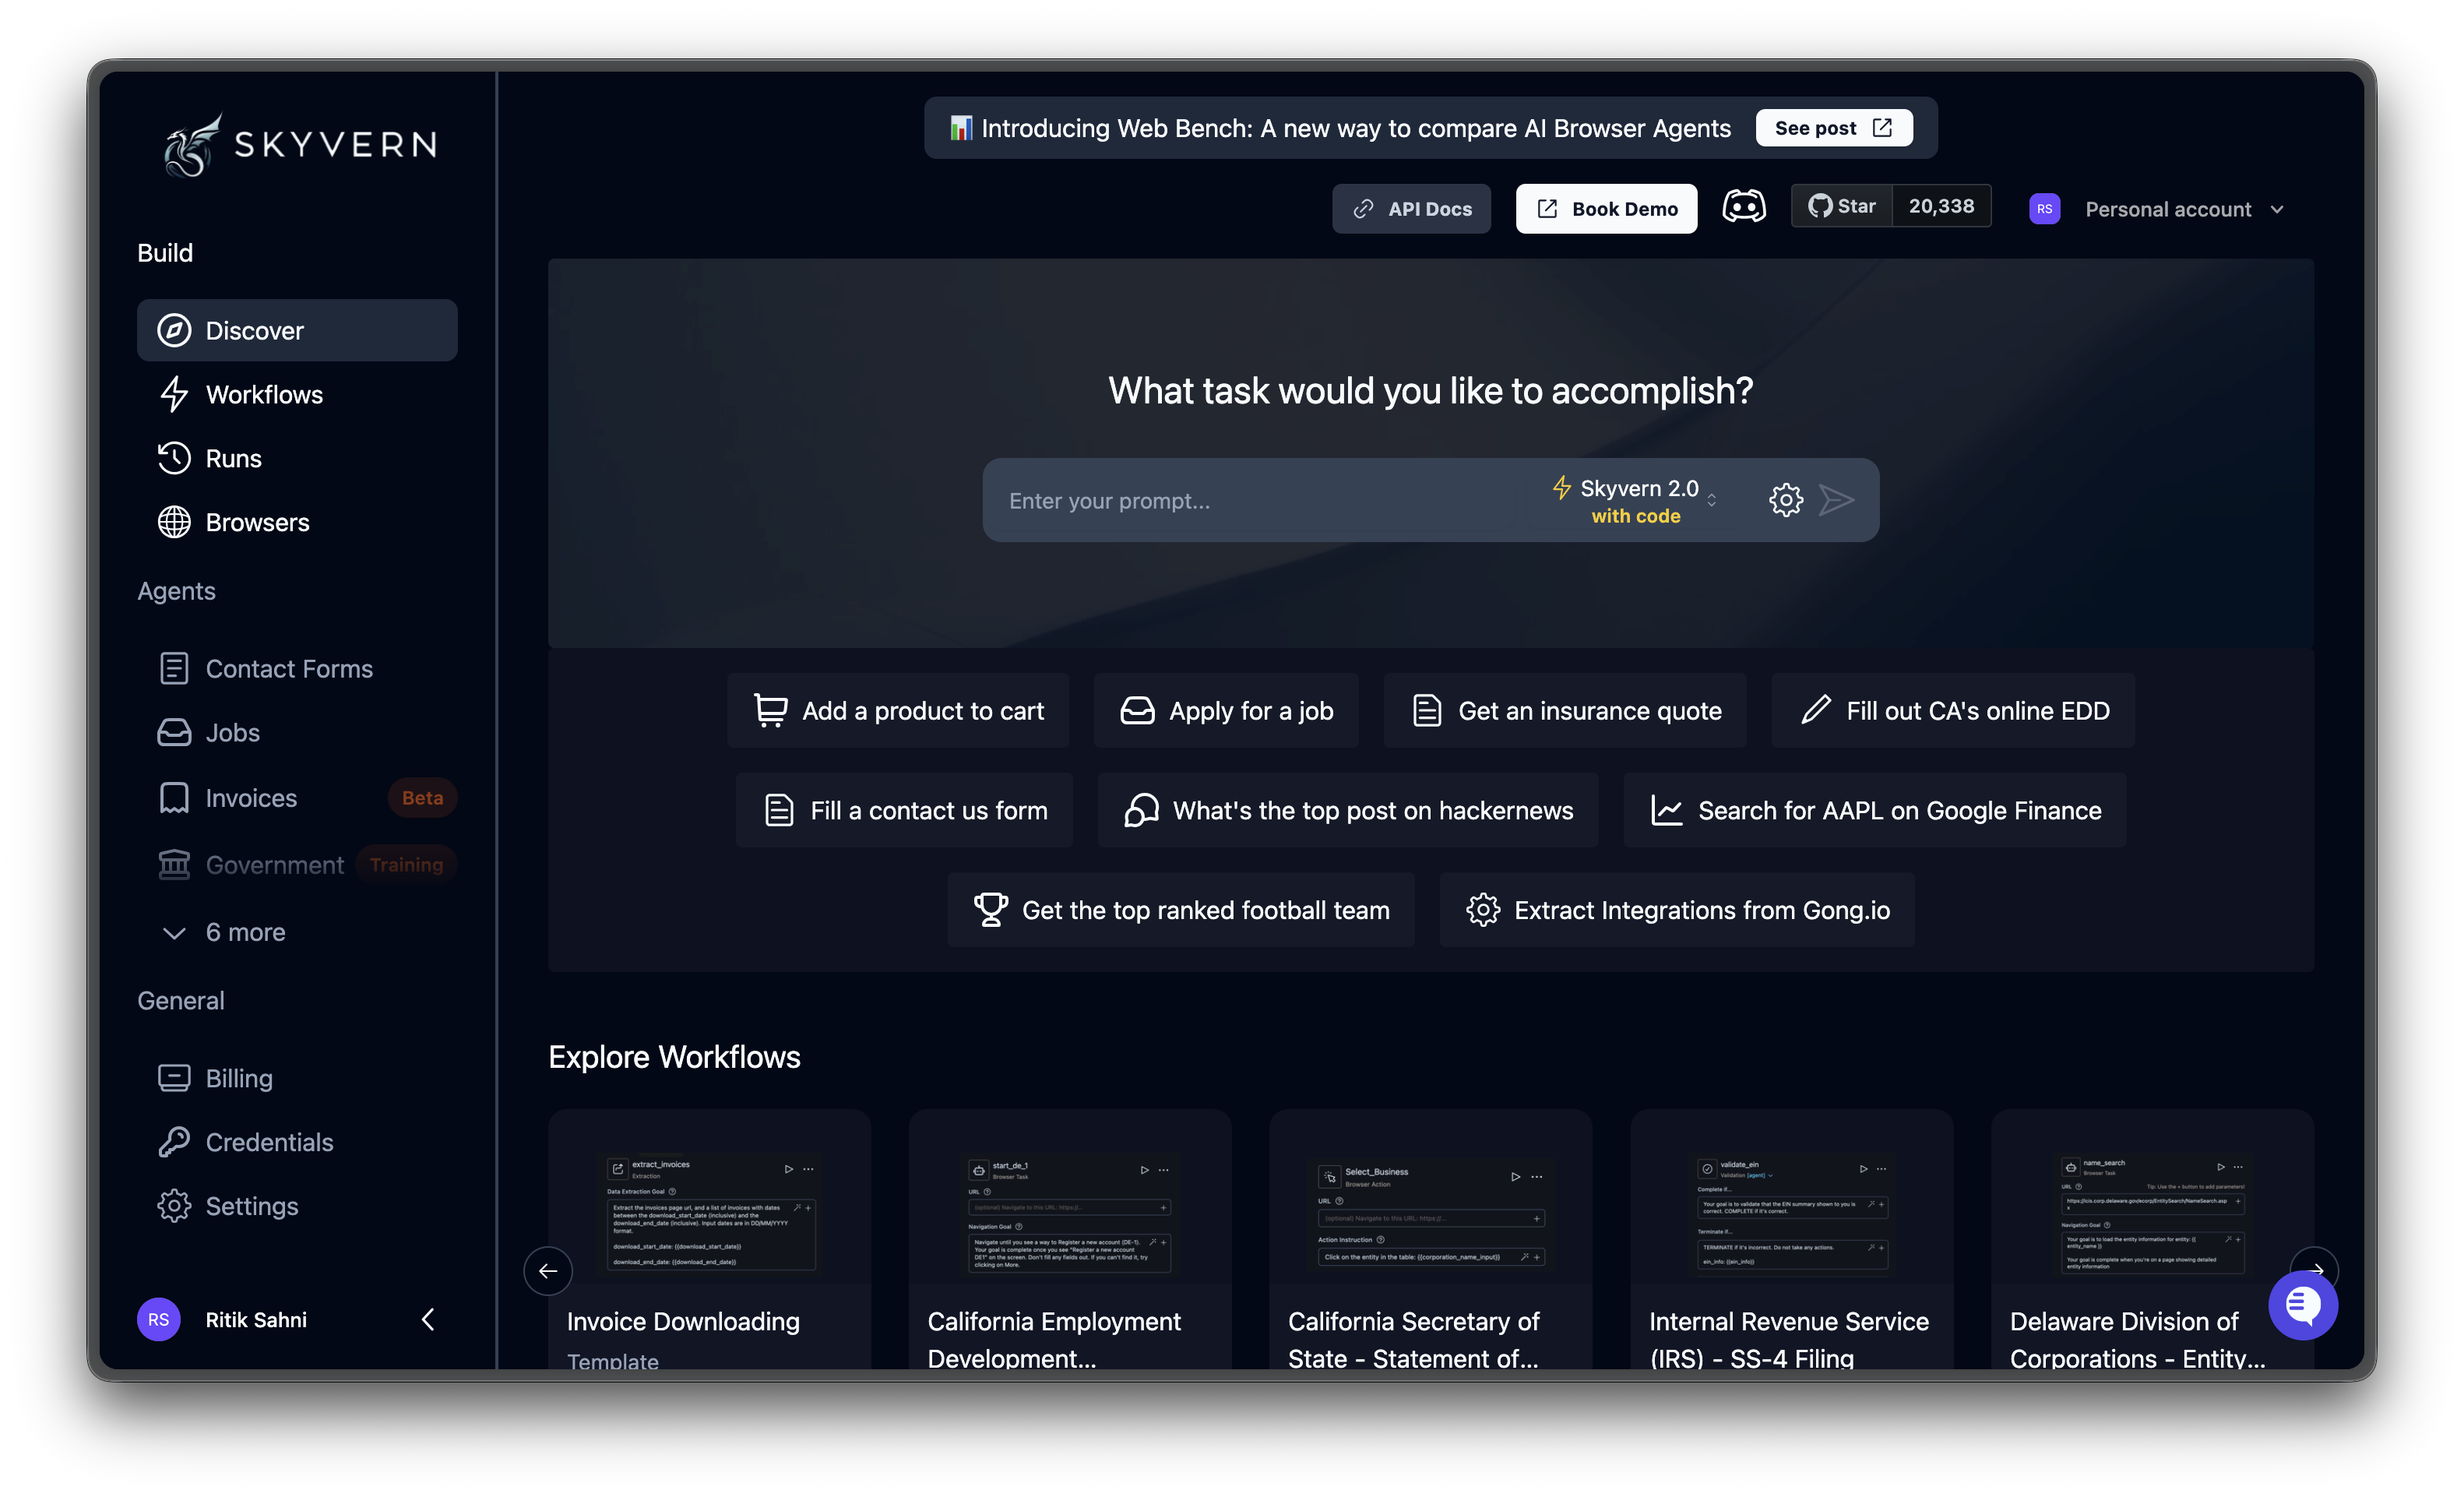
The prompt box
Type a natural language instruction describing what you want automated. Be specific about the goal and any data you want extracted. Examples:- “Go to amazon.com and find the price of the MacBook Air M4”
- “Fill out the contact form at example.com/contact with name John Doe and email john@example.com”
- “Get an insurance quote from geico.com for a 2020 Toyota Camry”
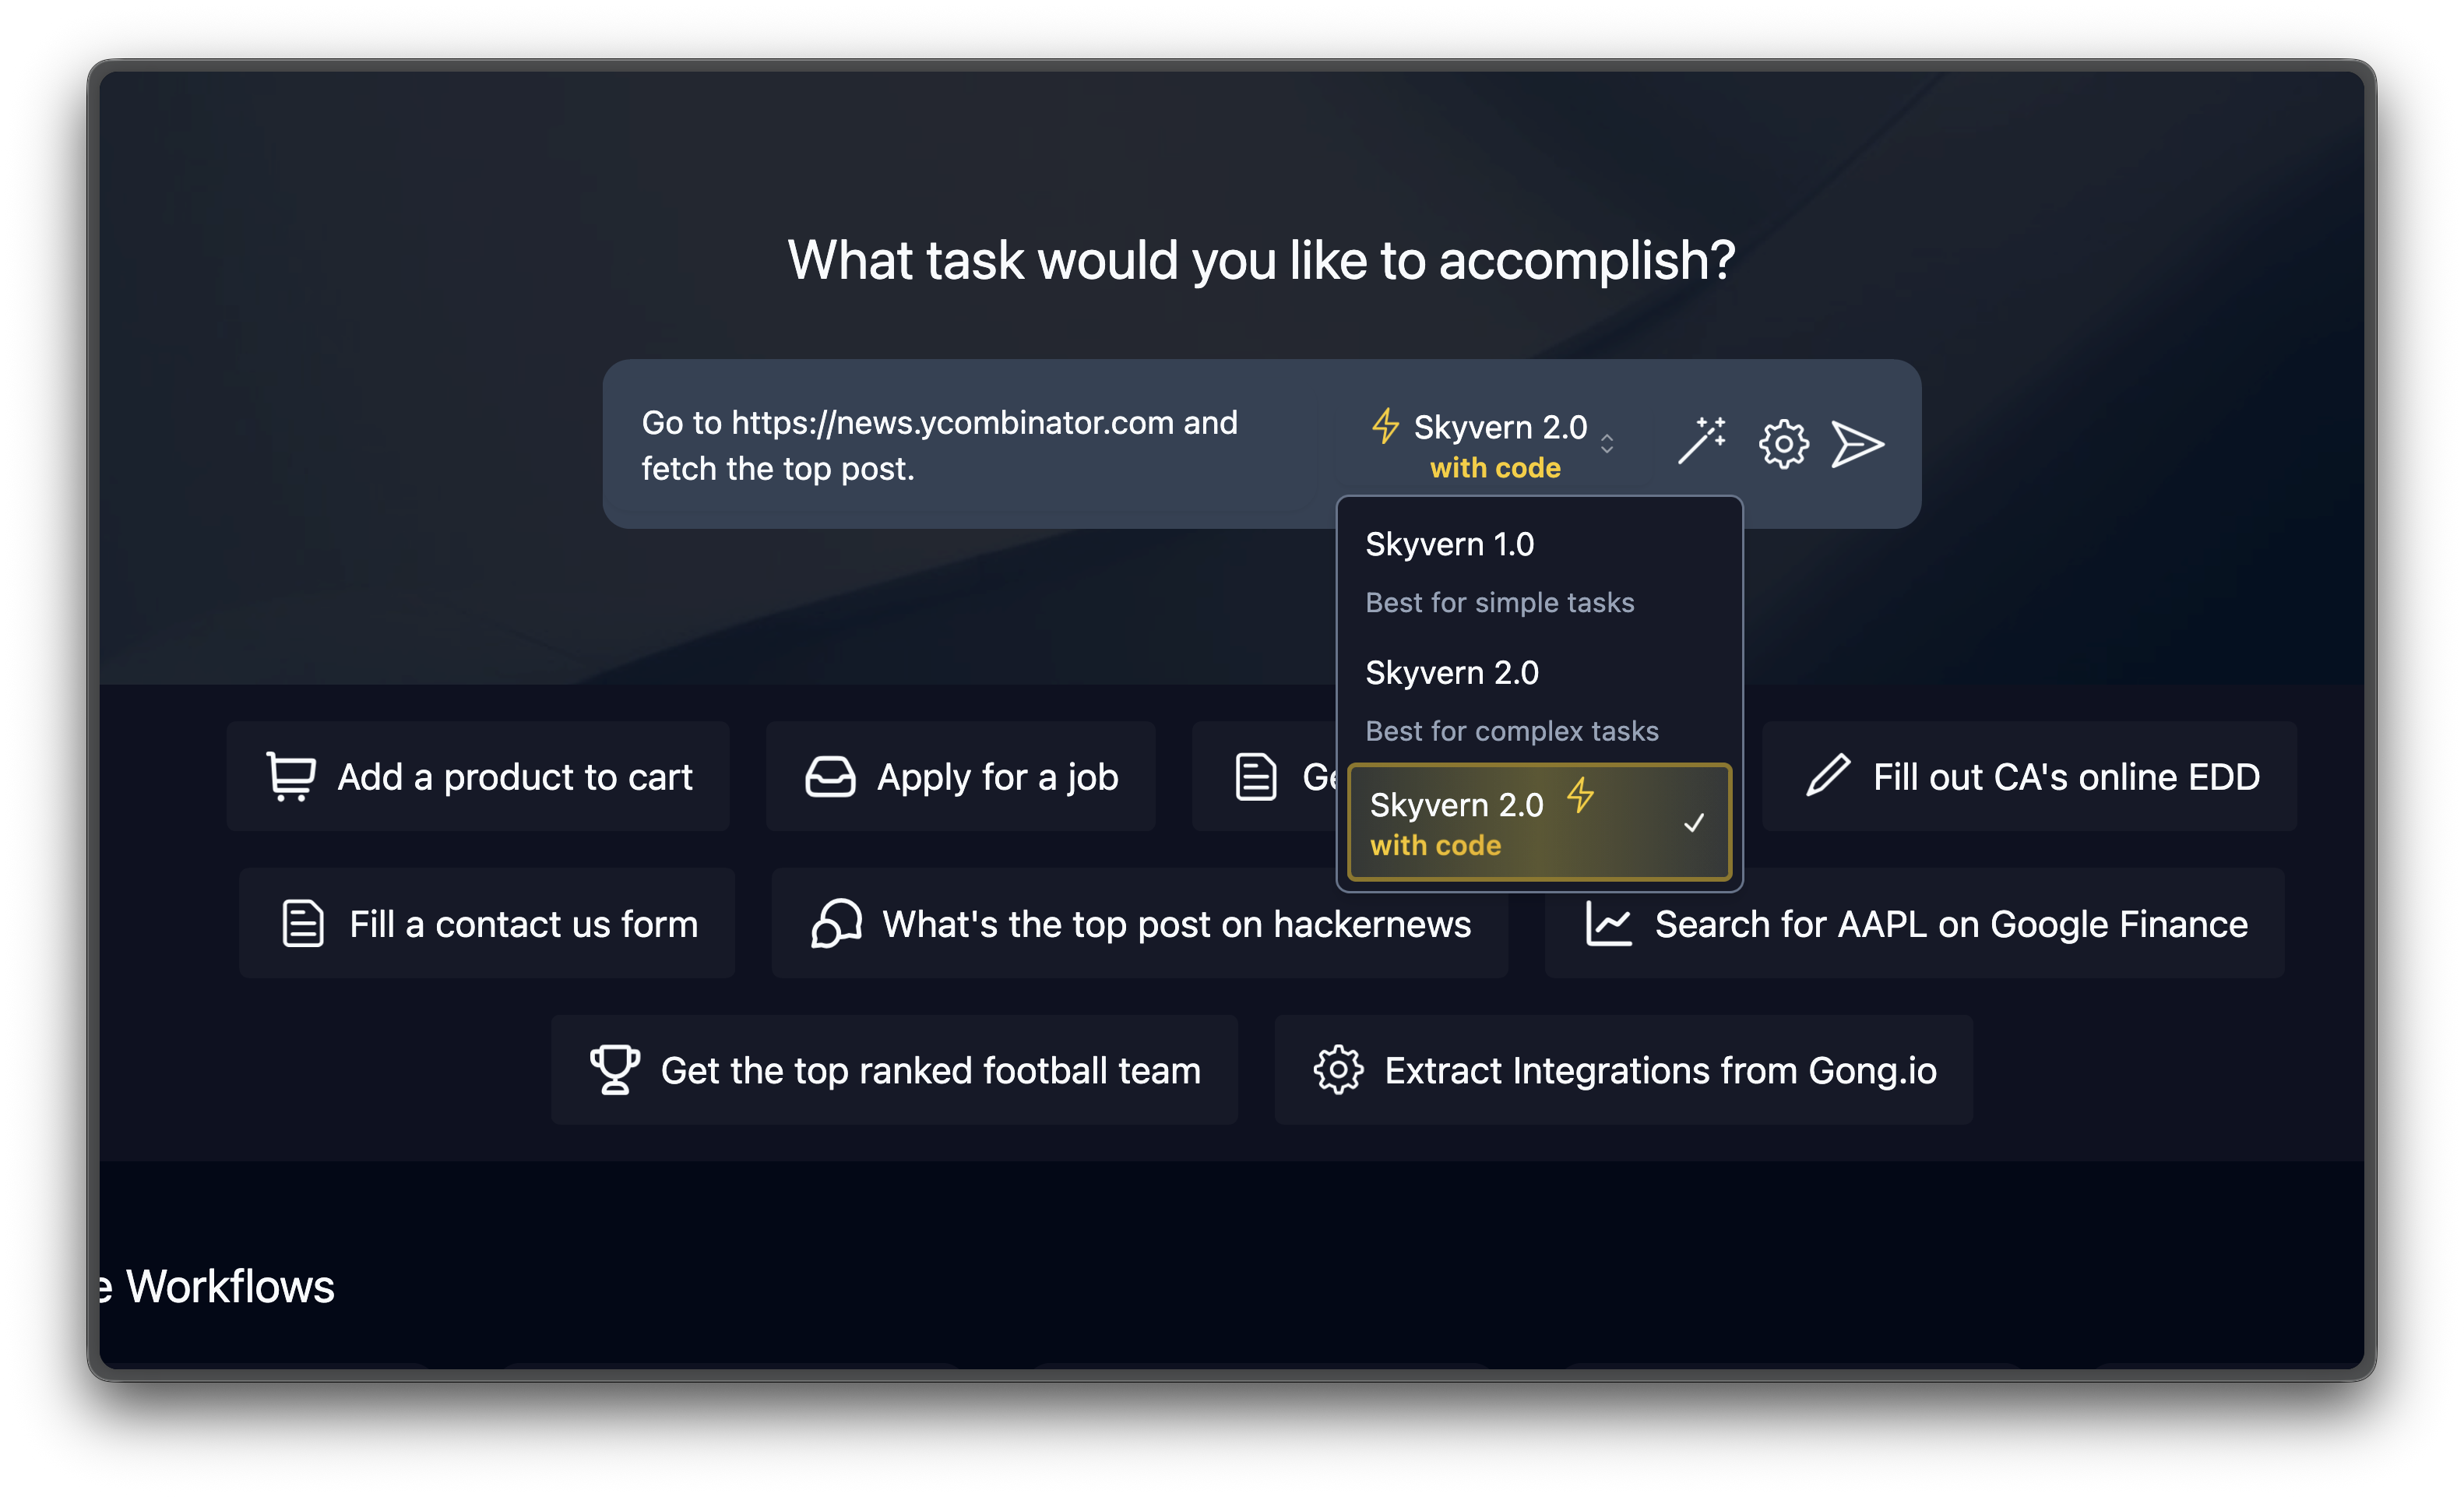
Choosing an engine
The dropdown next to the send button controls which engine runs the task.| Engine | Best for |
|---|---|
| Skyvern 2.0 with Code | Complex, multi-step tasks. Generates reusable scripts. (Default) |
| Skyvern 2.0 | Complex tasks without script generation |
| Skyvern 1.0 | Simple, single-objective tasks. Faster and cheaper. |
Advanced settings
Click the gear icon next to the prompt box to expand the settings panel.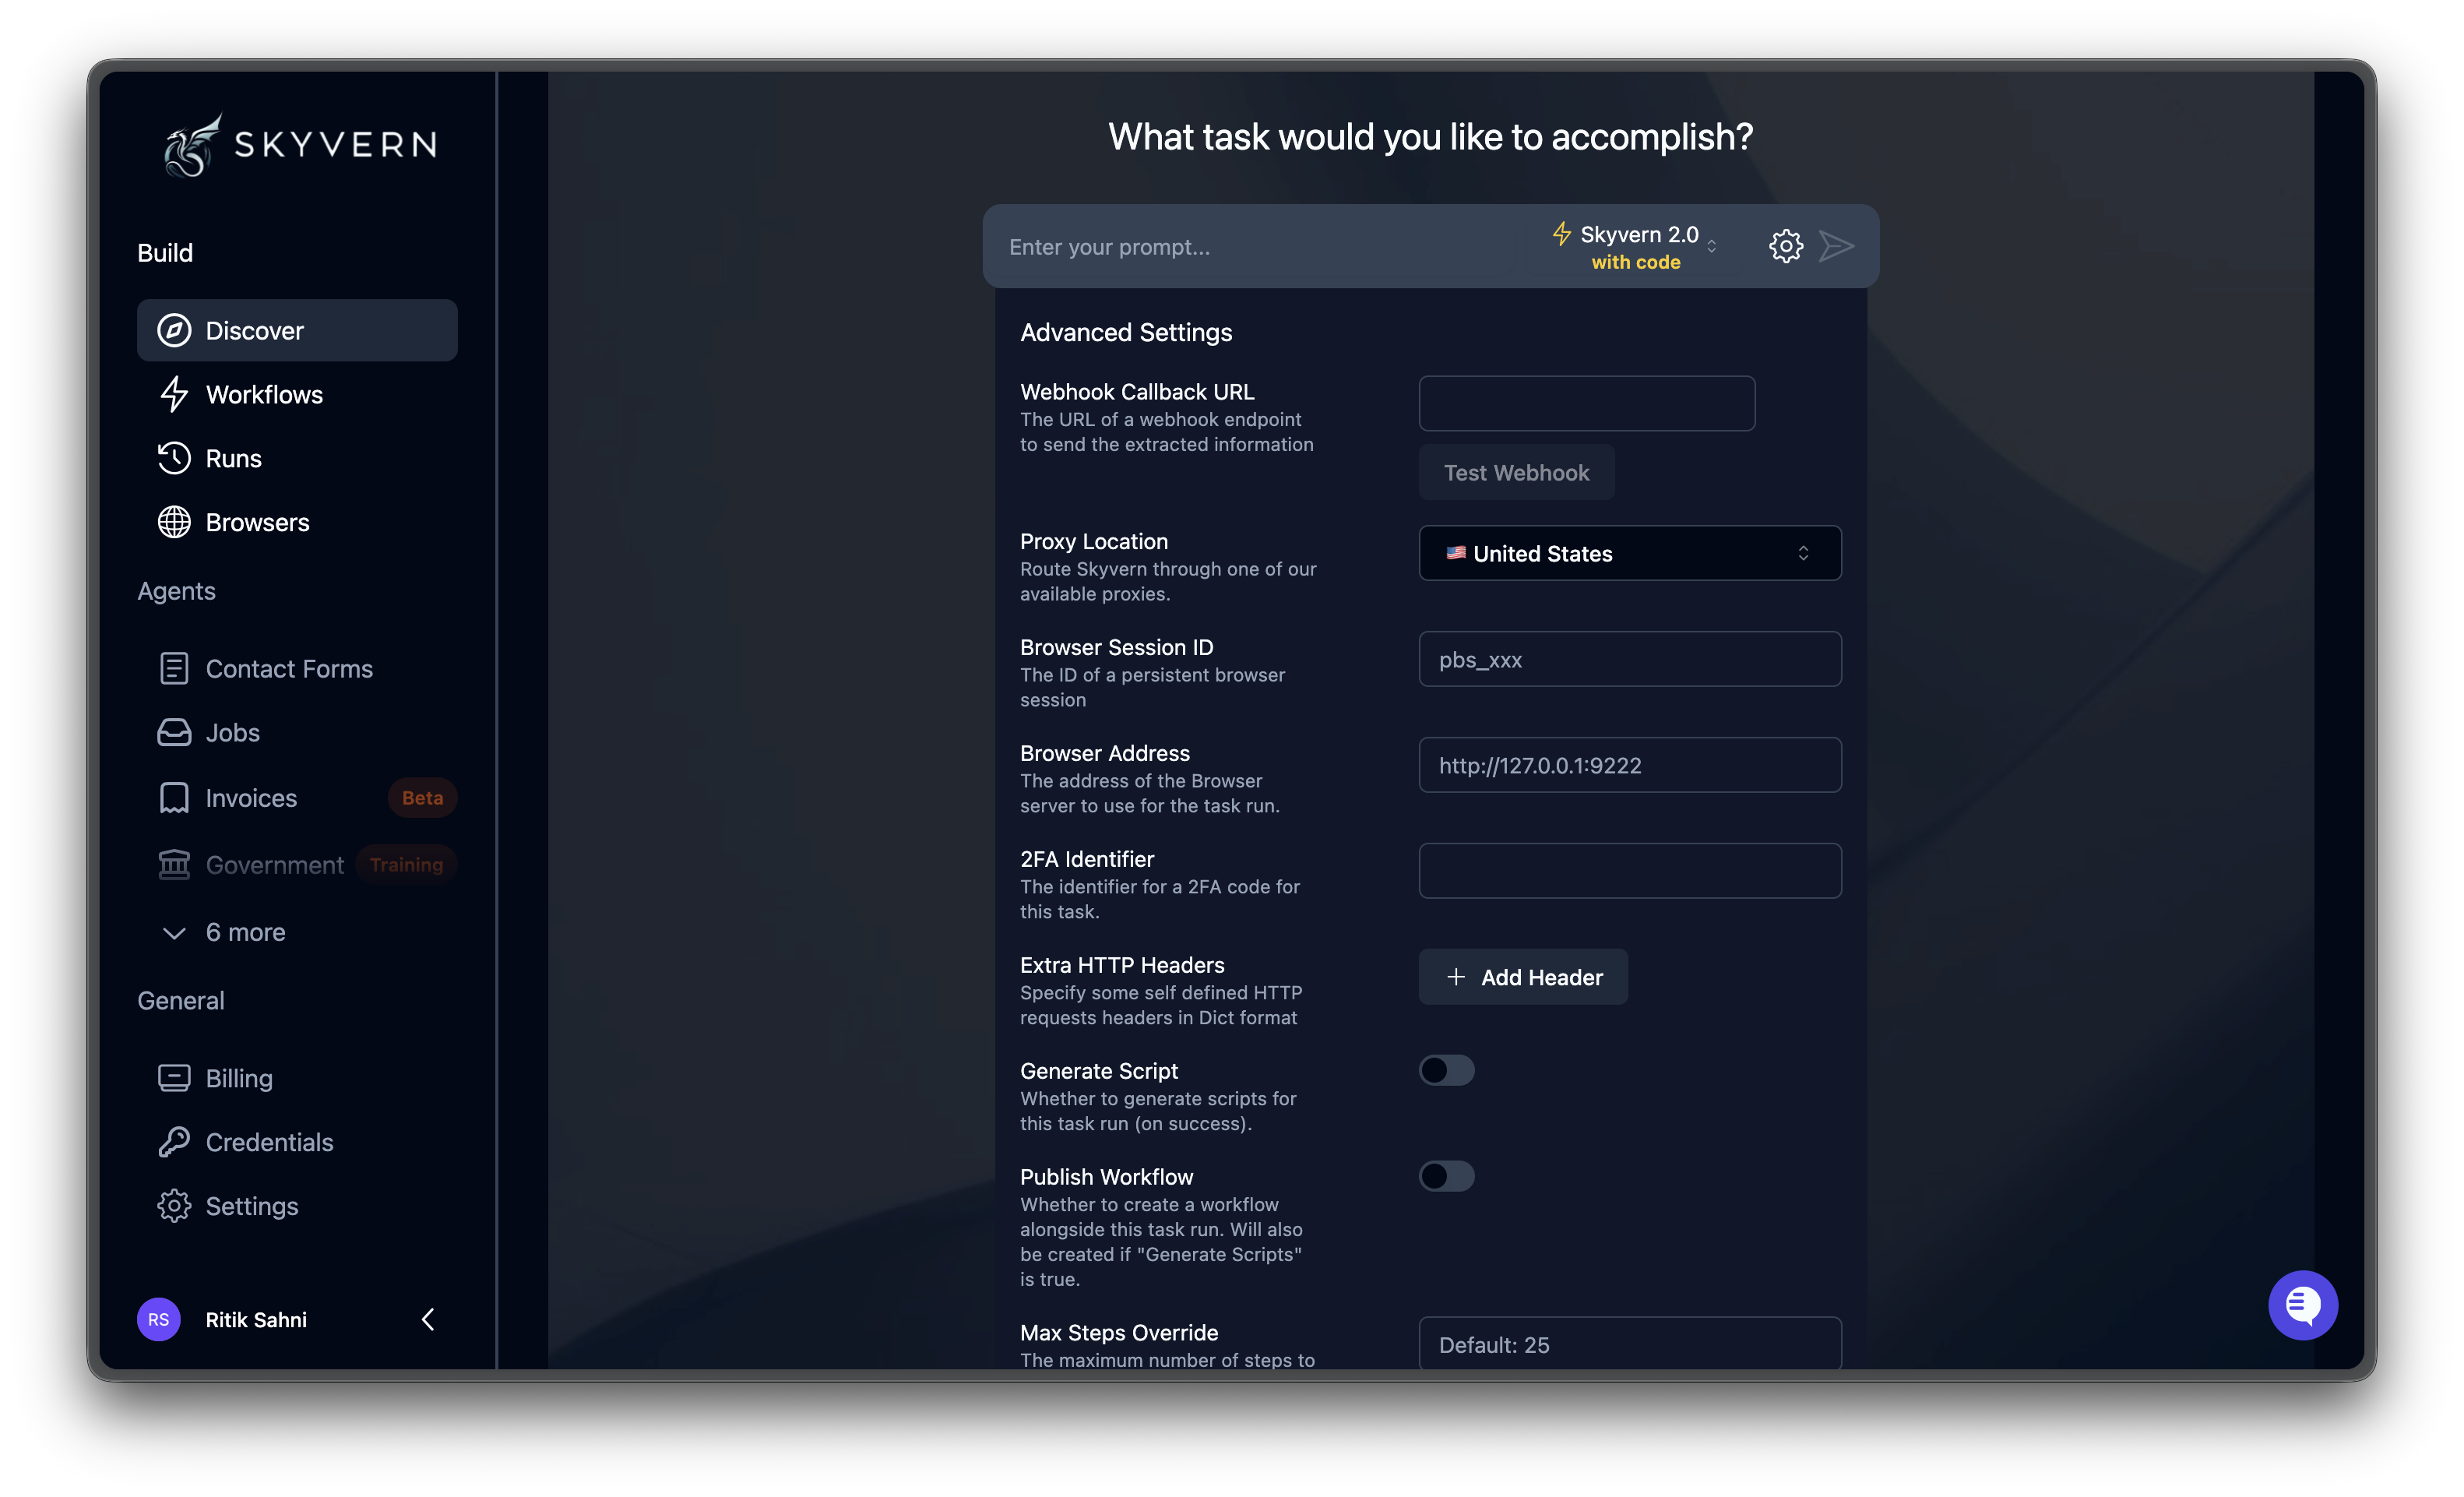
| Setting | What it does |
|---|---|
| Proxy Location | Route the browser through a residential proxy in a specific country. Default is RESIDENTIAL (US). Set to NONE to disable. Available: US, UK, Germany, France, Spain, Ireland, India, Japan, Australia, Canada, Brazil, Mexico, Argentina, New Zealand, South Africa, Italy, Netherlands, Philippines, Turkey. |
| Webhook URL | URL that receives a POST request when the task finishes. The payload includes status, extracted data, screenshots, and recording URL. |
| Browser Session ID | Run inside an existing persistent browser session (pbs_xxx). Preserves cookies and login state across multiple tasks. |
| CDP Address | Connect to your own browser via Chrome DevTools Protocol (e.g., http://127.0.0.1:9222). For local development. |
| 2FA Identifier | Links your TOTP credentials to this task. Skyvern uses it to retrieve the correct code when a 2FA prompt appears. |
| Extra HTTP Headers | Custom headers sent with every browser request, as JSON (e.g., {"Authorization": "Bearer token"}). |
| Publish Workflow | Save a reusable workflow alongside the task run. Re-run the same automation later from the Workflows page. |
| Max Steps Override | Cap the number of AI reasoning steps. Each step = one screenshot-analyze-act cycle. Useful for controlling cost during development. |
| Max Screenshot Scrolls | Number of scrolls for post-action screenshots. Increase for pages with lazy-loaded content. 0 = viewport only. |
Data extraction schema
The Data Schema field in advanced settings lets you define the structure of extracted output as JSON Schema. Without a schema, the AI returns data in whatever format it chooses. With a schema, output conforms to your structure, making it predictable for downstream use.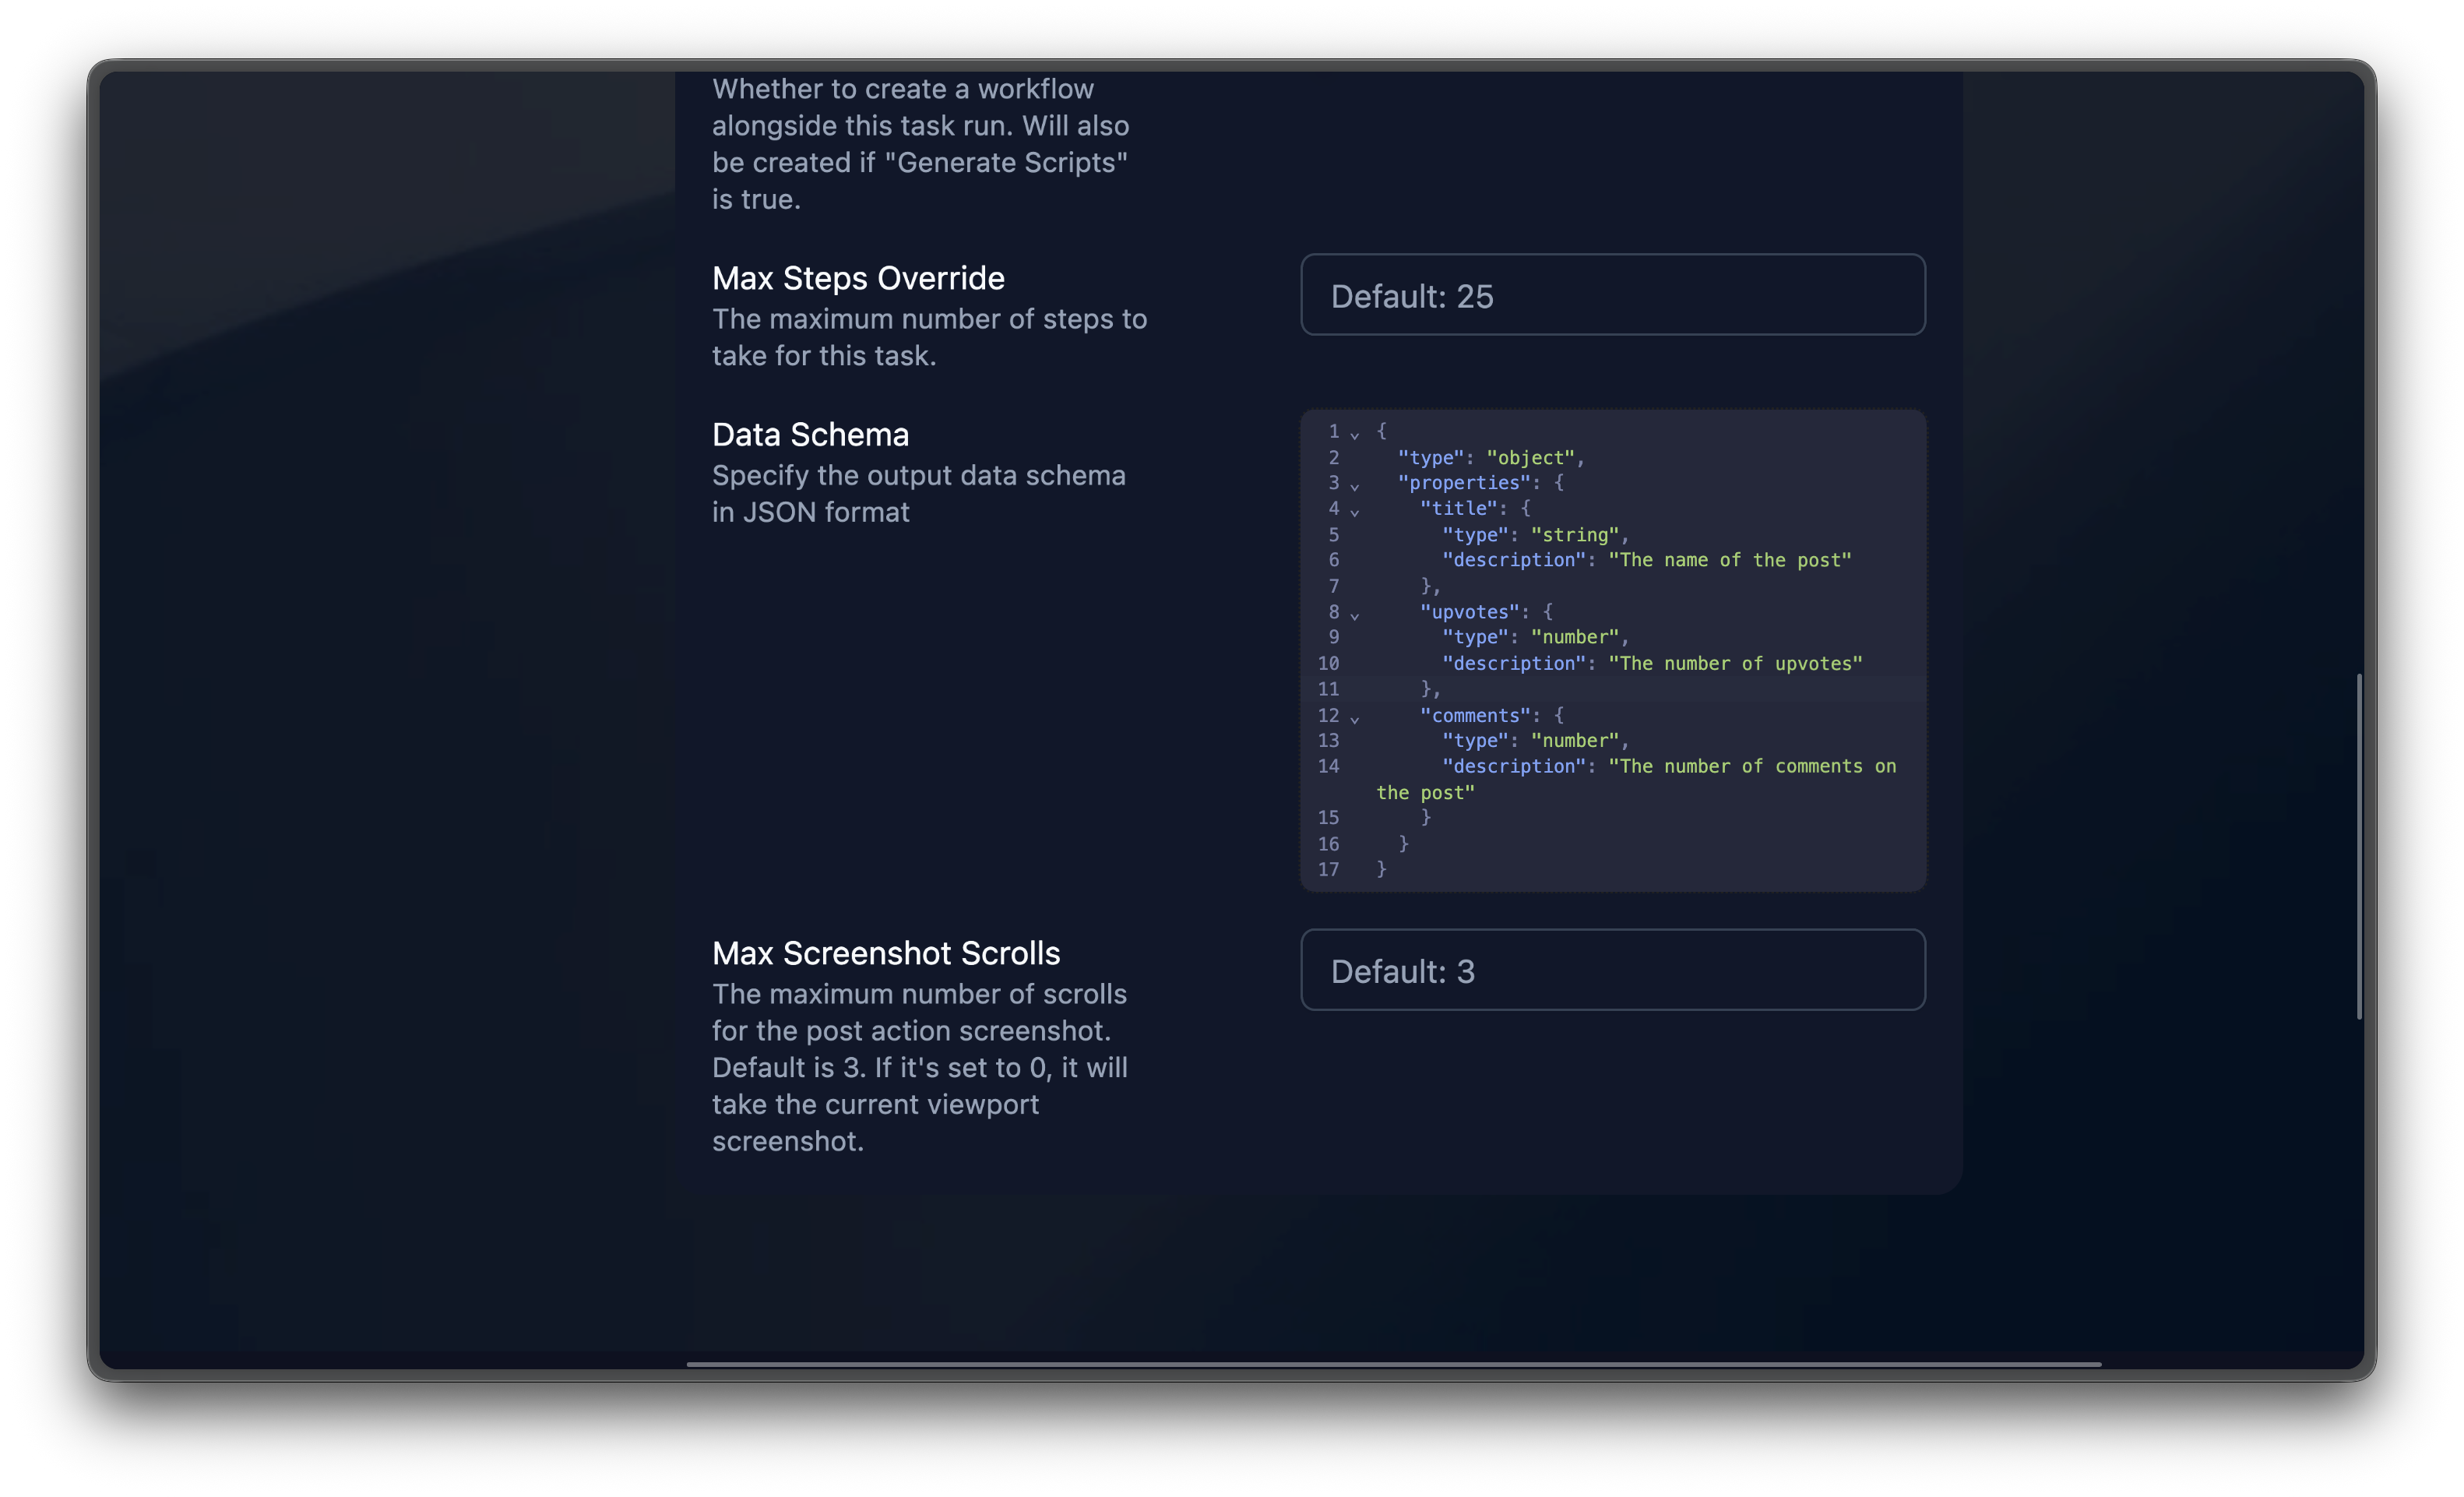
description field on each property to guide the AI on what to extract.
Example: Extracting a list of items
Example: Extracting a list of items
Workflow templates
Below the prompt box, the Discover page shows a gallery of workflow templates: pre-built automations for common use cases.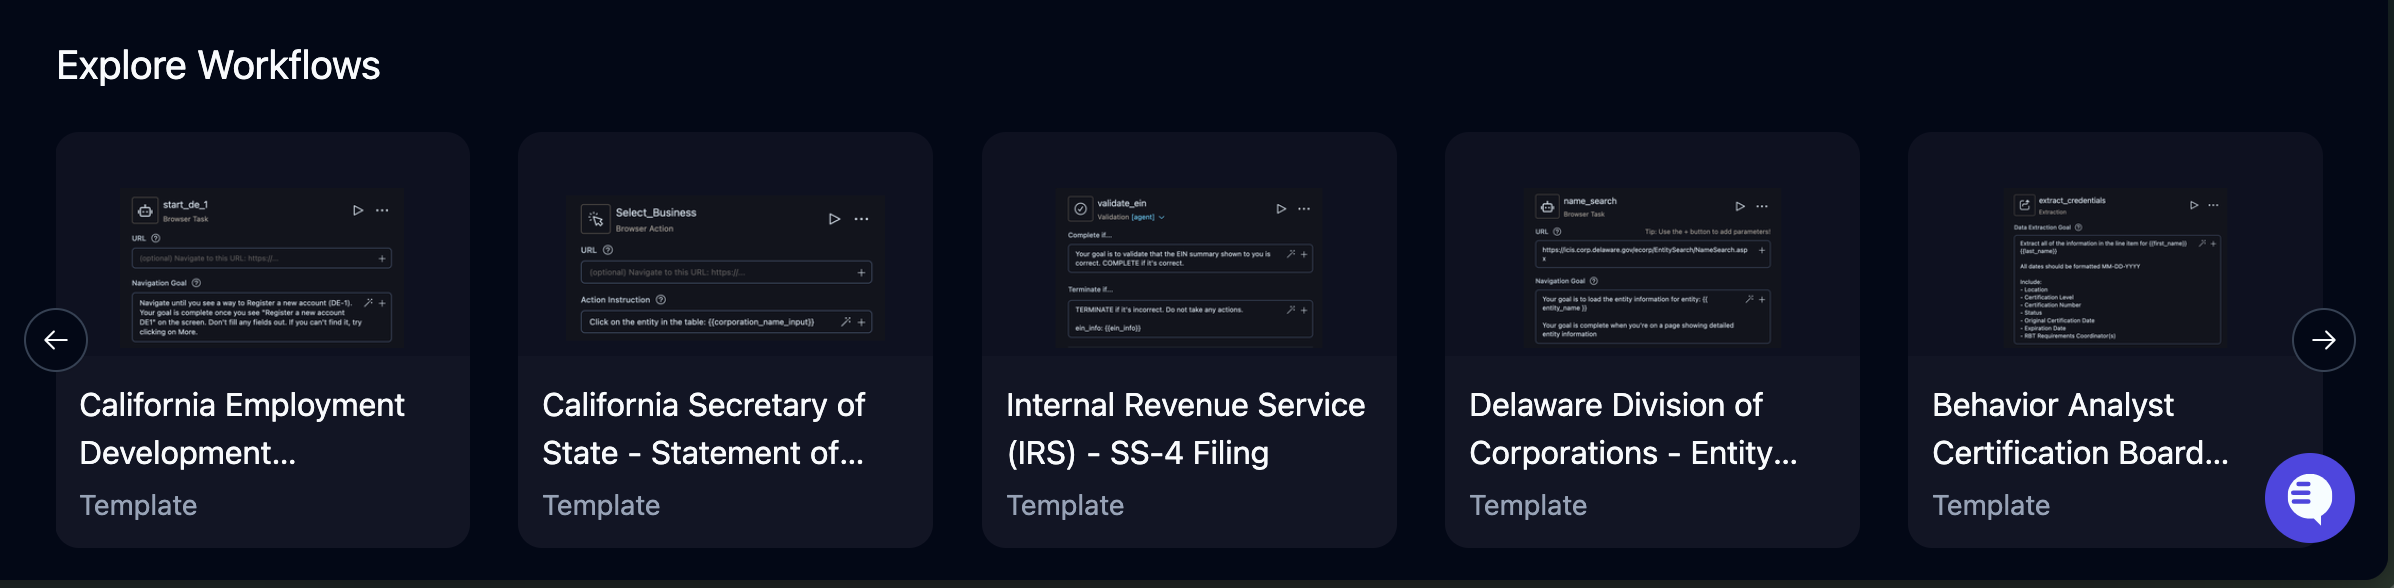
Tips for better results
Write specific prompts. Include the exact goal, target fields, and what “done” looks like.| Instead of | Write |
|---|---|
| ”Get some data from this site" | "Extract the product name, price, and availability from the first 5 results on amazon.com/s?k=wireless+mouse" |
| "Fill out the form" | "Fill the contact form at example.com/contact with name ‘Jane Doe’, email ‘jane@example.com’, and message ‘Demo request’” |
- Check the Failure Reason at the top of the run detail page
- Read the Thought cards in the Overview timeline to find where the AI went off track
- Watch the Recording to see what actually happened on screen
- Review Parameters to confirm the inputs were correct
What happens next
- Your prompt is sent to Skyvern
- A cloud browser opens and navigates to the target URL (or finds one from your prompt)
- The AI analyzes the page, plans actions, and executes them step by step
- You’re taken to the live execution view where you can watch it happen in real time
- When complete, results appear on the run detail page under Runs
Next steps
Watching Live Execution
Monitor runs, take control of the browser, and review results
Build a Workflow
Turn a successful task into a reusable multi-step workflow