Step 1: Write your prompt
Open app.skyvern.com and you’ll land on the Discover page.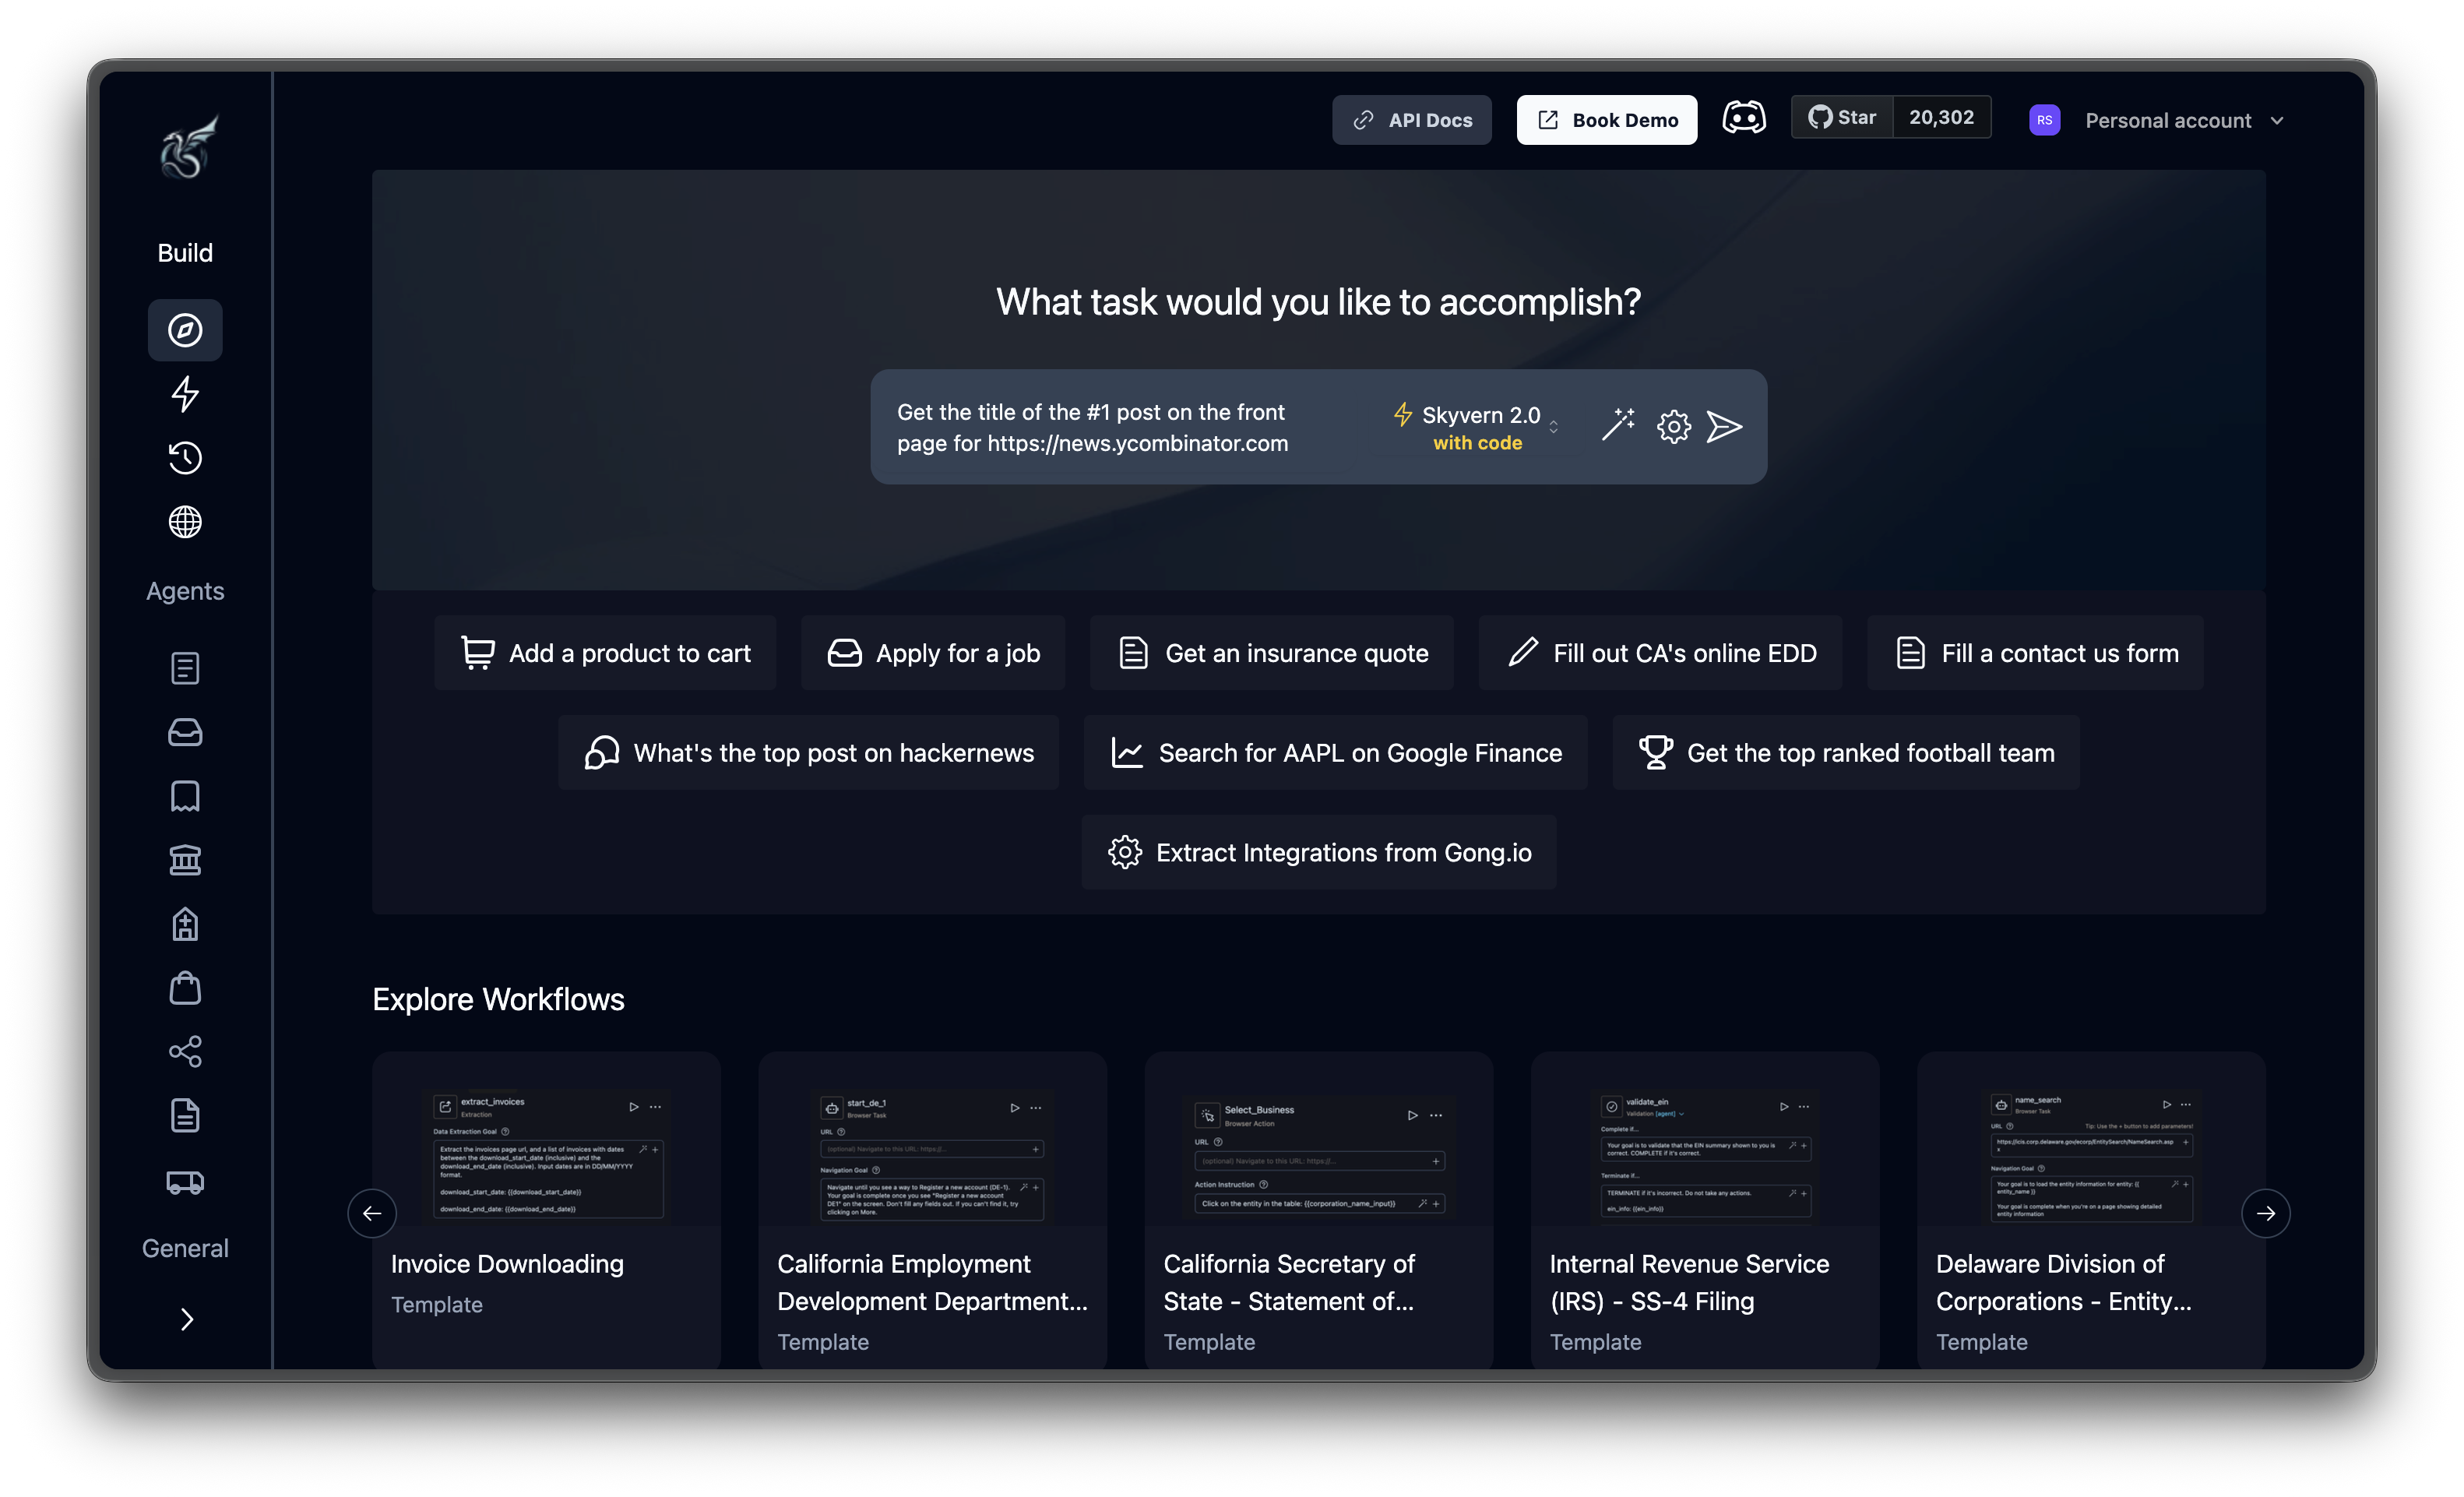
Step 2: Pick an engine and run
Next to your prompt, you’ll see an engine selector. Click it to switch engines:| Engine | When to use it |
|---|---|
| Skyvern 1.0 | Tasks with a simple, single goal: filling a form, searching for information on Google, reading content from a page |
| Skyvern 2.0 | Complex, multi-step tasks. Scores state-of-the-art 85.85% on the WebVoyager benchmark |
| Skyvern 2.0 with Code | The default engine. Same capabilities as Skyvern 2.0, plus auto-generates reusable code and a workflow from the run |
Optional: Advanced settings
Optional: Advanced settings
Click the gear icon next to send to configure additional options before running:
These are all optional. The defaults work for most tasks.
| Setting | What it does |
|---|---|
| Webhook Callback URL | Endpoint to receive the extracted data when the run completes |
| Proxy Location | Route Skyvern through one of the available proxies |
| Browser Session ID | Reuse a persistent browser session to keep login state |
| CDP Address | Connect to your own browser via Chrome DevTools Protocol |
| 2FA Identifier | Identifier for a 2FA code to handle two-factor auth automatically |
| Extra HTTP Headers | Custom HTTP request headers (dict format) |
| Generate Script | Auto-generate reusable scripts from a successful run |
| Publish Workflow | Create a workflow alongside this task run |
| Max Steps Override | Cap the number of steps the AI can take |
| Data Schema | Define structured JSON output format |
| Max Screenshot Scrolls | Limit scrolls for post-action screenshots (default: 3) |
Step 3: Watch the live browser
This is where it gets interesting. Once the task starts, you’ll see the run detail page with a live view of the browser: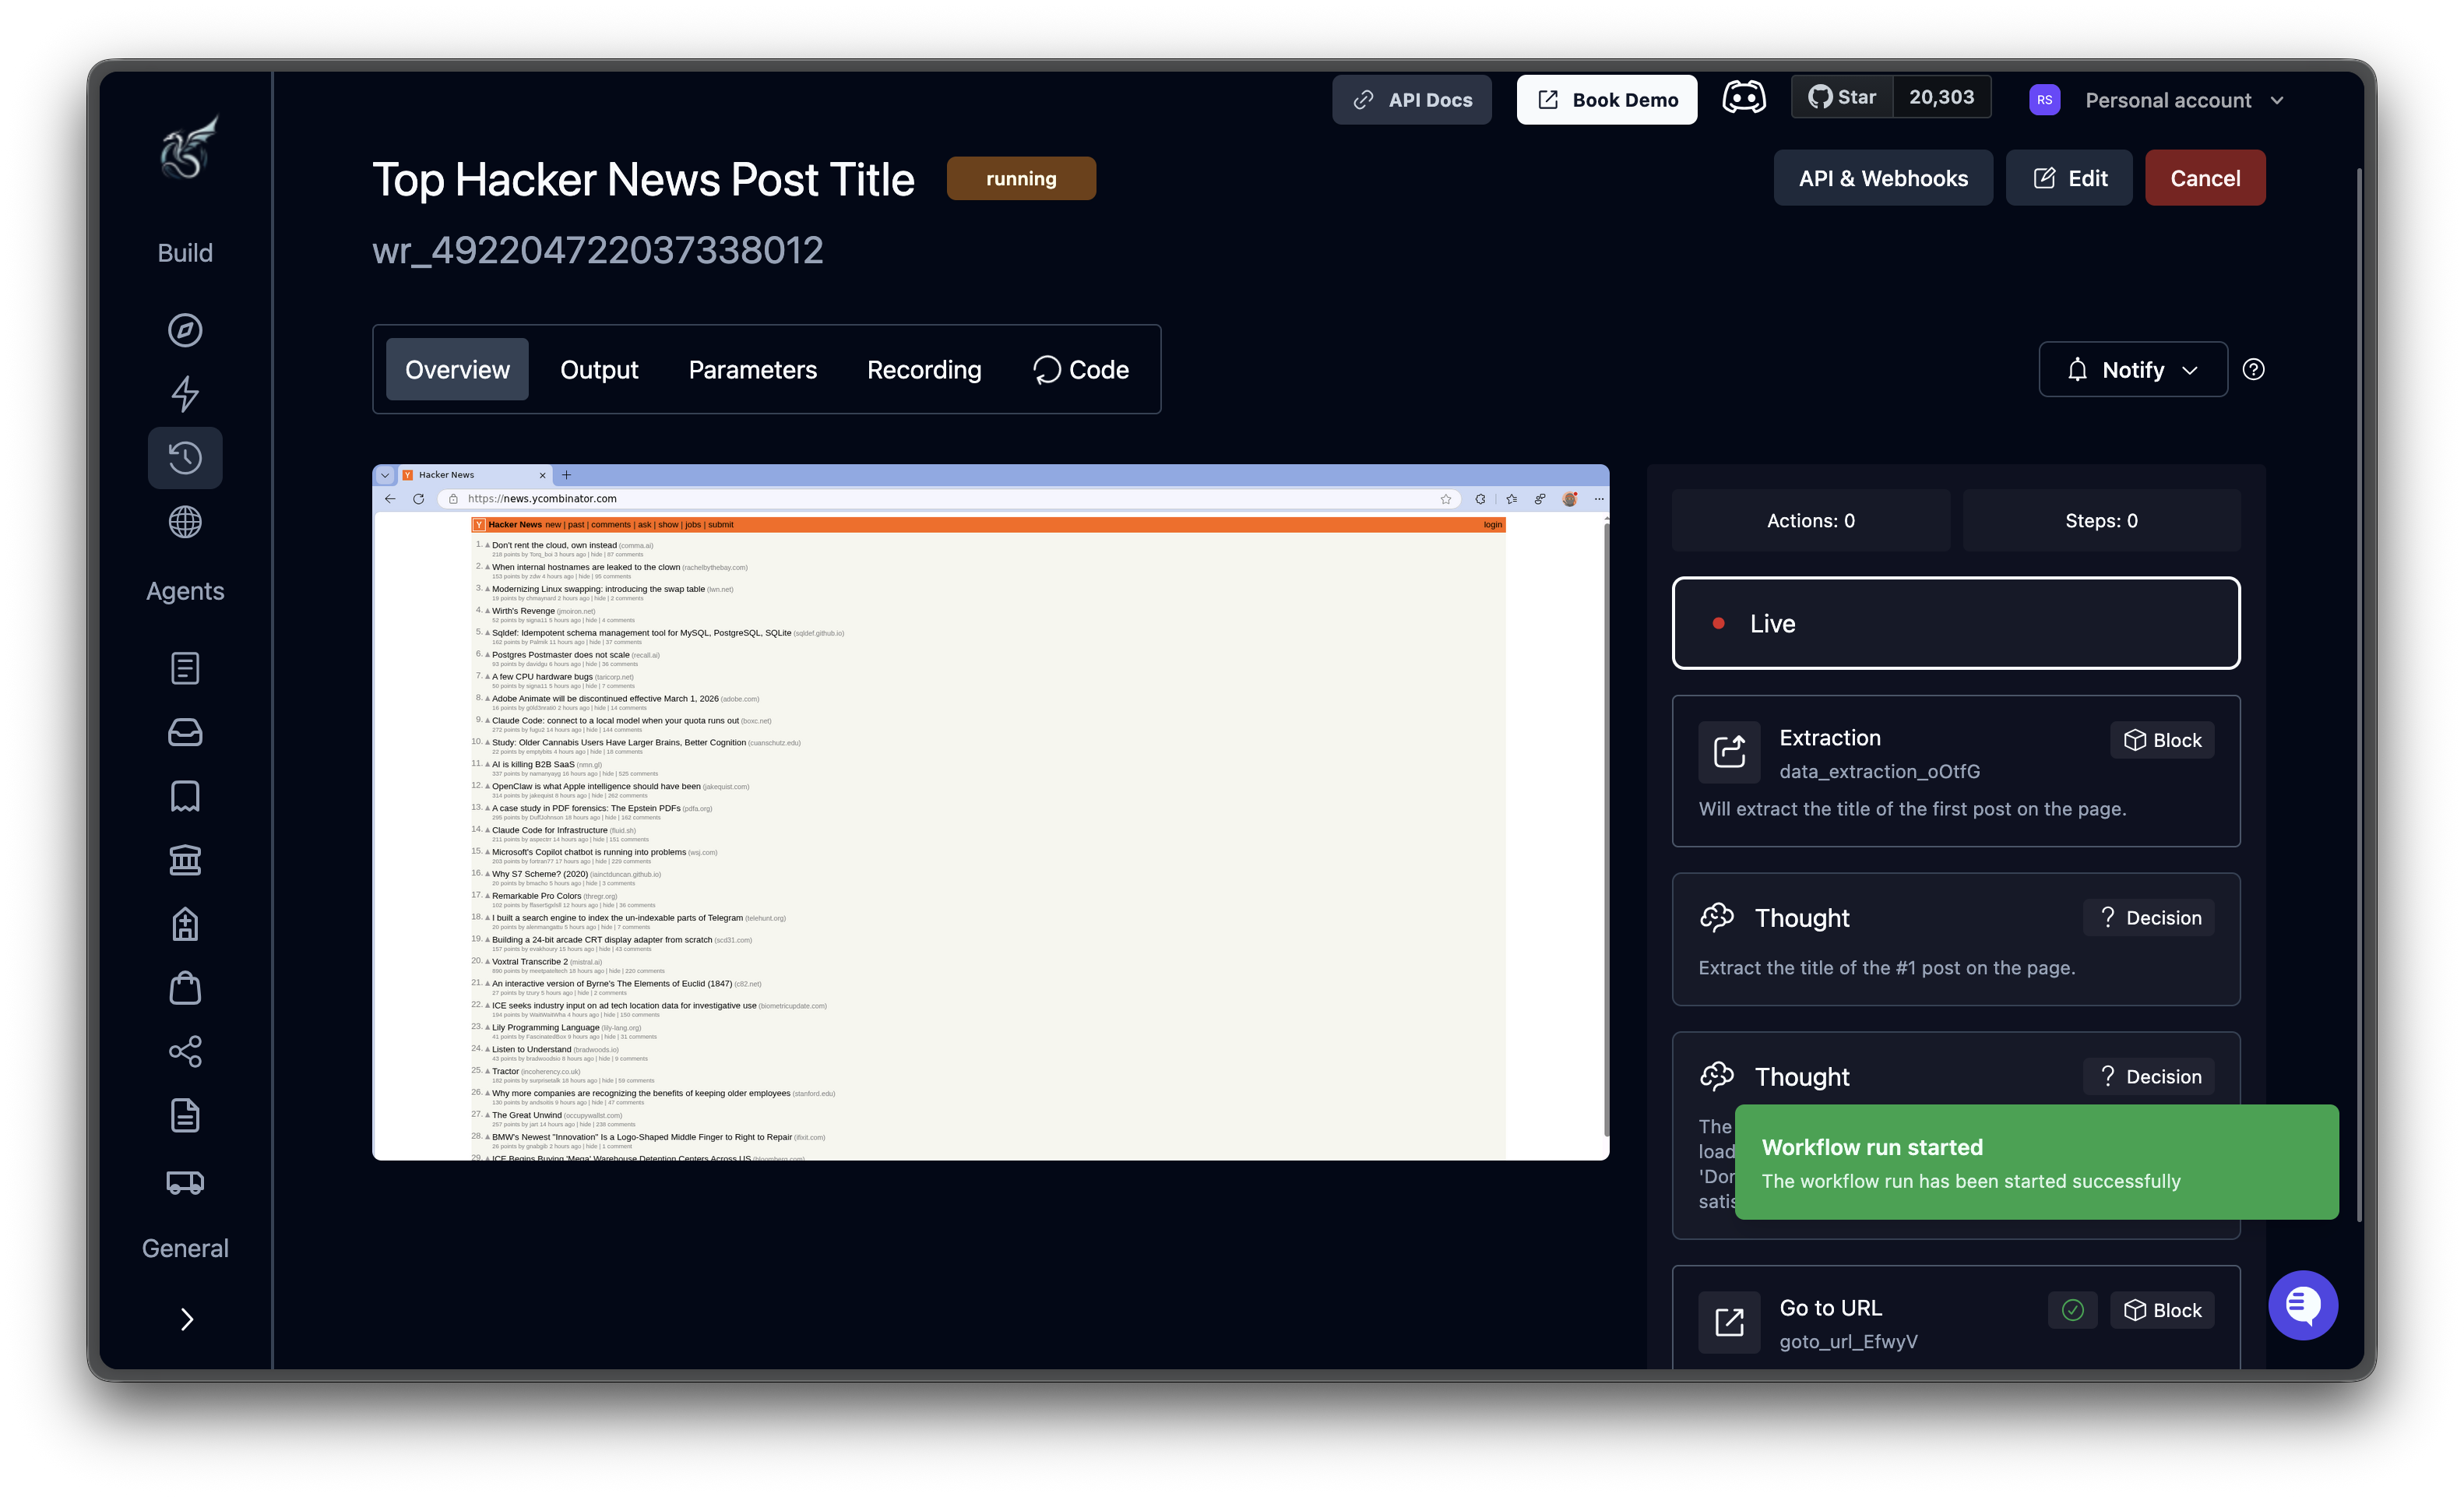
Step 4: Review the results
When the task finishes, the status badge flips to completed and the extracted data appears at the top of the page.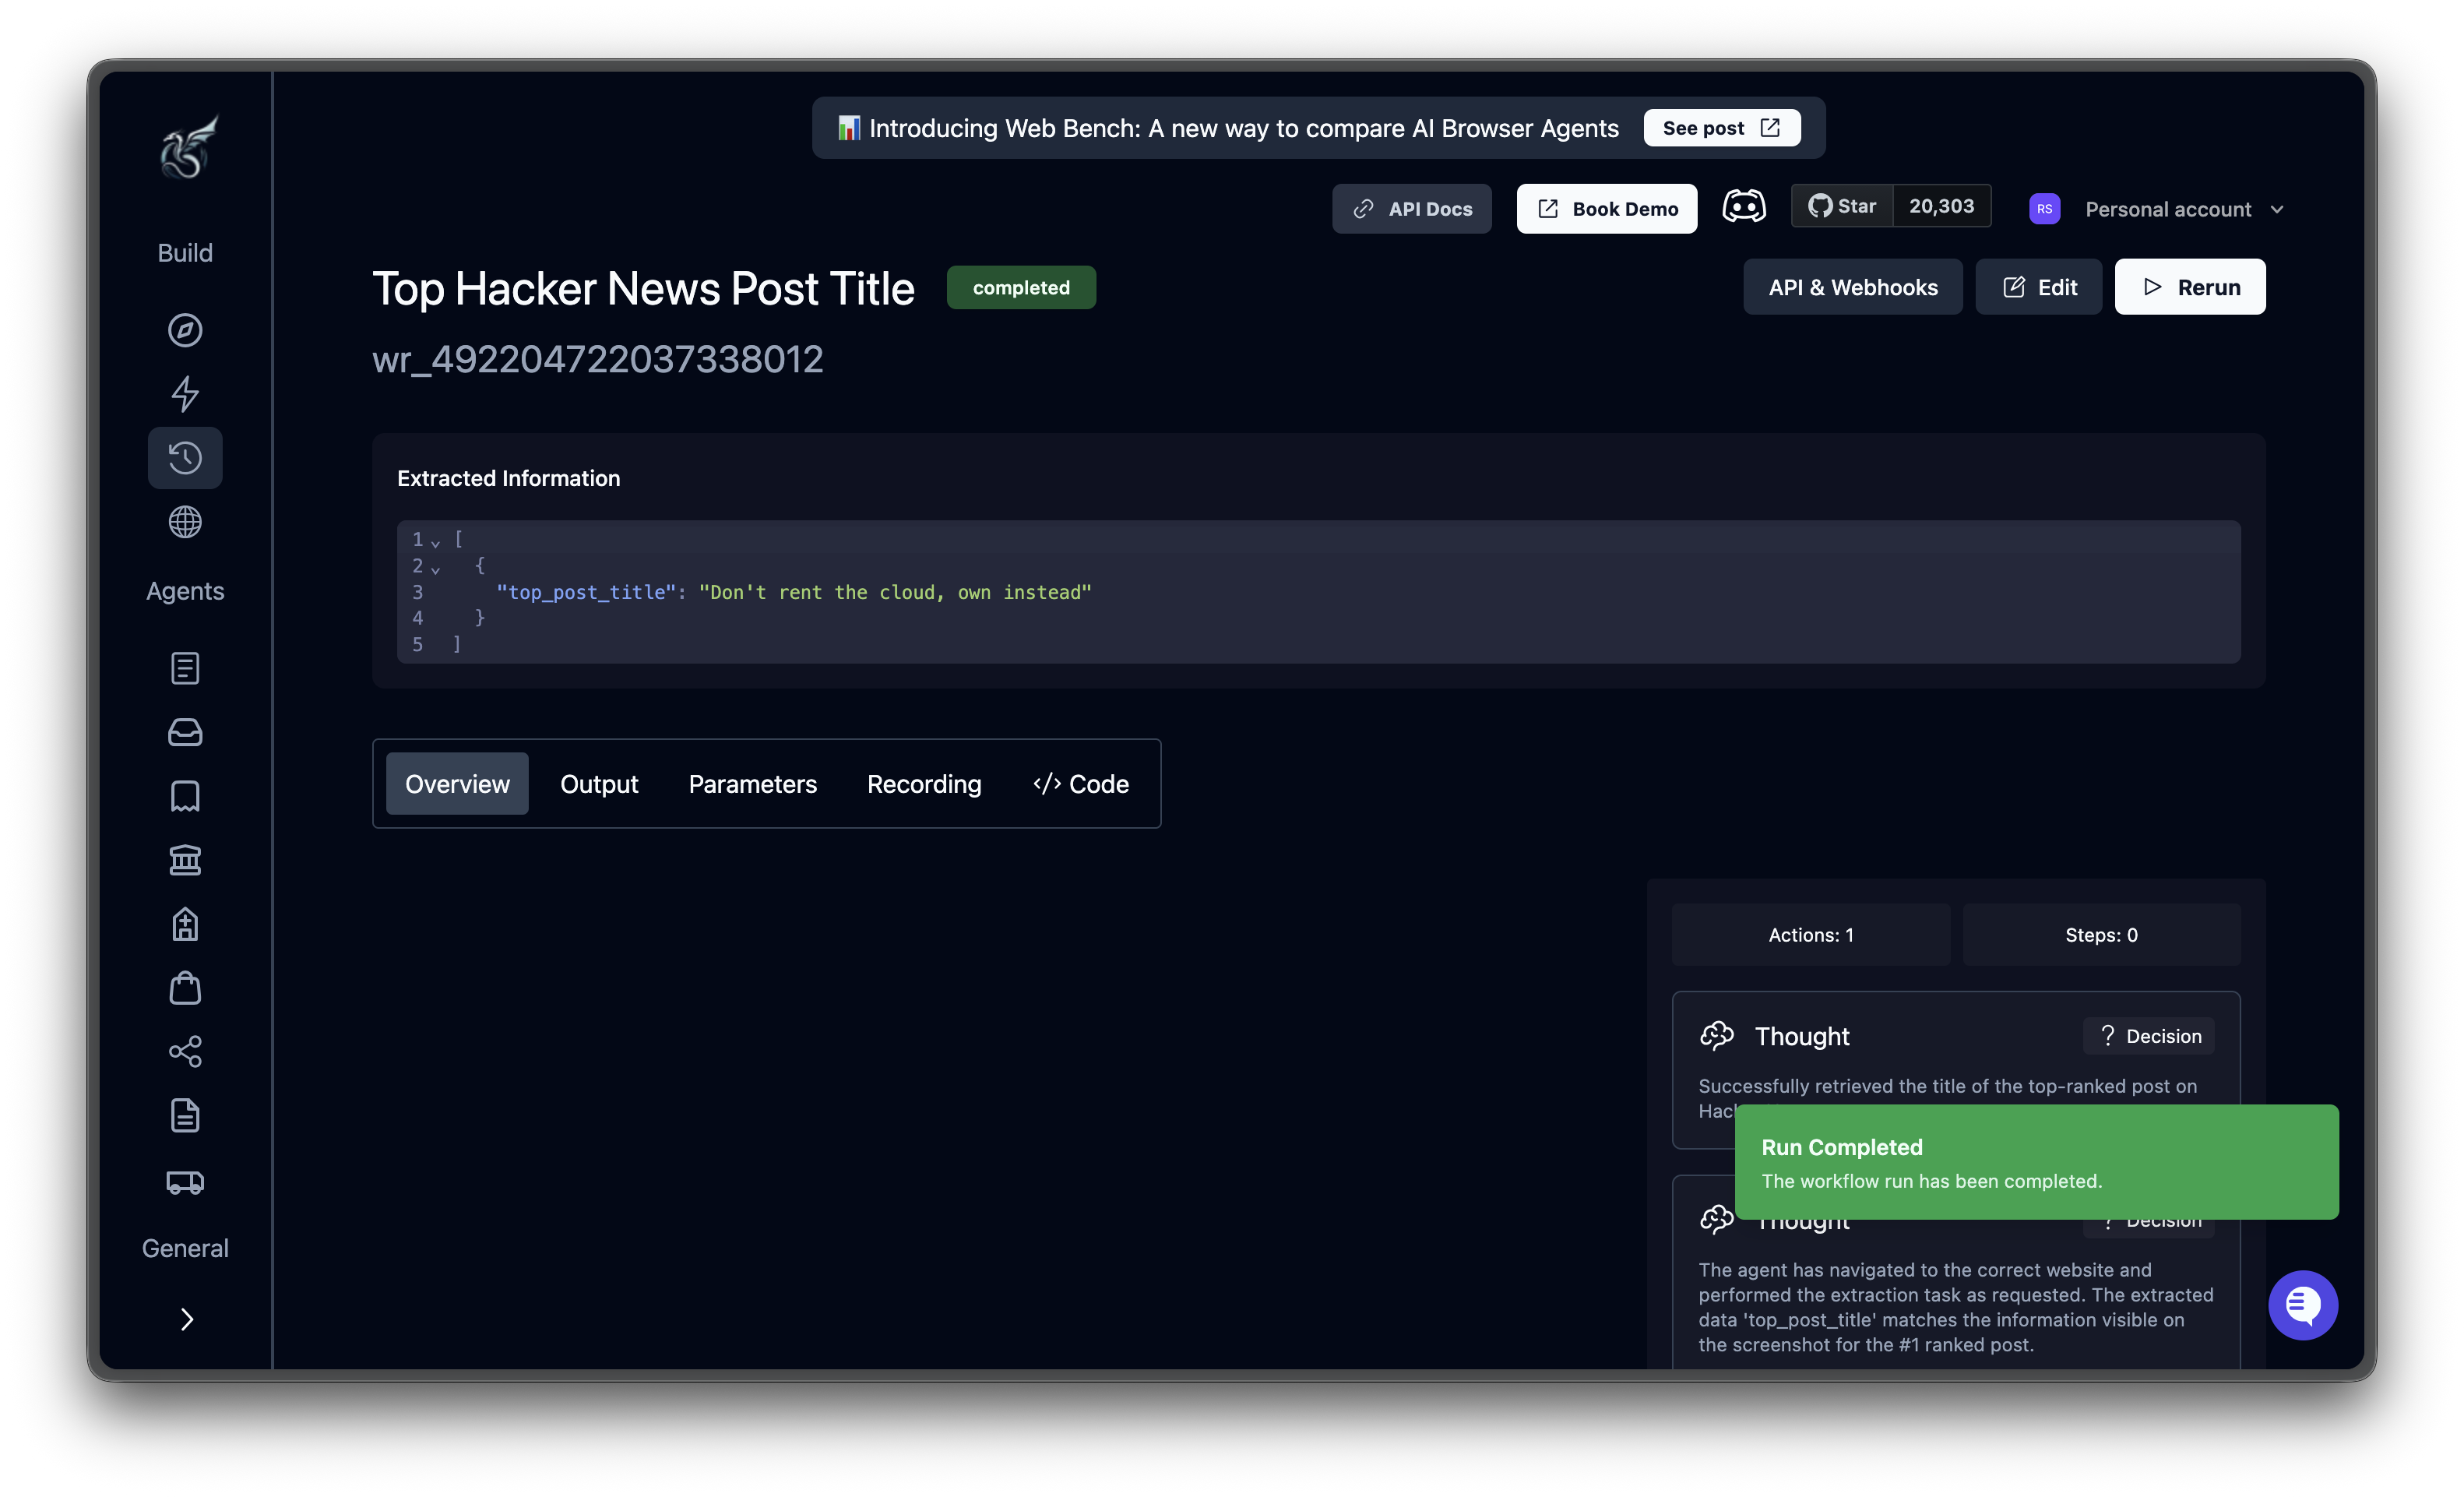
Extracted data
The Extracted Information block shows your results as structured JSON:Tabs
Below the extracted data, five tabs give you different views of the run:- Overview: The AI’s reasoning timeline alongside browser screenshots. Each Thought, Block, and Action card shows what the agent saw and why it acted.
- Output: The complete JSON output and any downloaded files.
- Parameters: The exact configuration that was submitted (URL, prompt, engine, schema). Useful for reproducing or tweaking the run.
- Recording: Full video replay of the browser session, start to finish.
- Code: Auto-generated Python code to reproduce this task via the API or SDK.
Try something bigger
Now that you’ve seen the basic flow, here are a few ideas to try next:- Fill a form: Point Skyvern at a contact form and tell it what to enter in each field
- Compare prices: Extract product names and prices from an e-commerce page using a data schema
- Navigate a flow: Use Skyvern 2.0 to walk through a multi-page checkout or signup process
- Use an Agent template: Check the Agents section in the sidebar for pre-built automations you can run instantly
Next steps
Run a Task via API
Trigger automations programmatically with the Skyvern API
Core Concepts
Understand tasks, workflows, and other building blocks