Available Triggers
- New or Updated Skyvern Workflow — Starts a Zap whenever a workflow is created or modified.
Available Actions
- Create and Run a Task — Run an automation using Skyvern 1.0 (simple, single-step goals)
- Create and Run Task V2 — Run an automation using Skyvern 2.0 (complex, multi-step goals)
- Run a Workflow — Run a pre-built Skyvern workflow with parameters
- Get a Task / Get a Task V2 — Retrieve results from a previously run task
- Get a Workflow — Retrieve results from a previously run workflow
Setup
Add the Skyvern block
Create a new Zap or edit an existing one, search for “Skyvern” in the Apps section, and choose the action or trigger you want.
Connect your account
Click Sign in on the left panel and paste your API key from Settings.
Test
Review “Data In” to verify what will be sent, click Test step, and monitor progress in your Skyvern dashboard.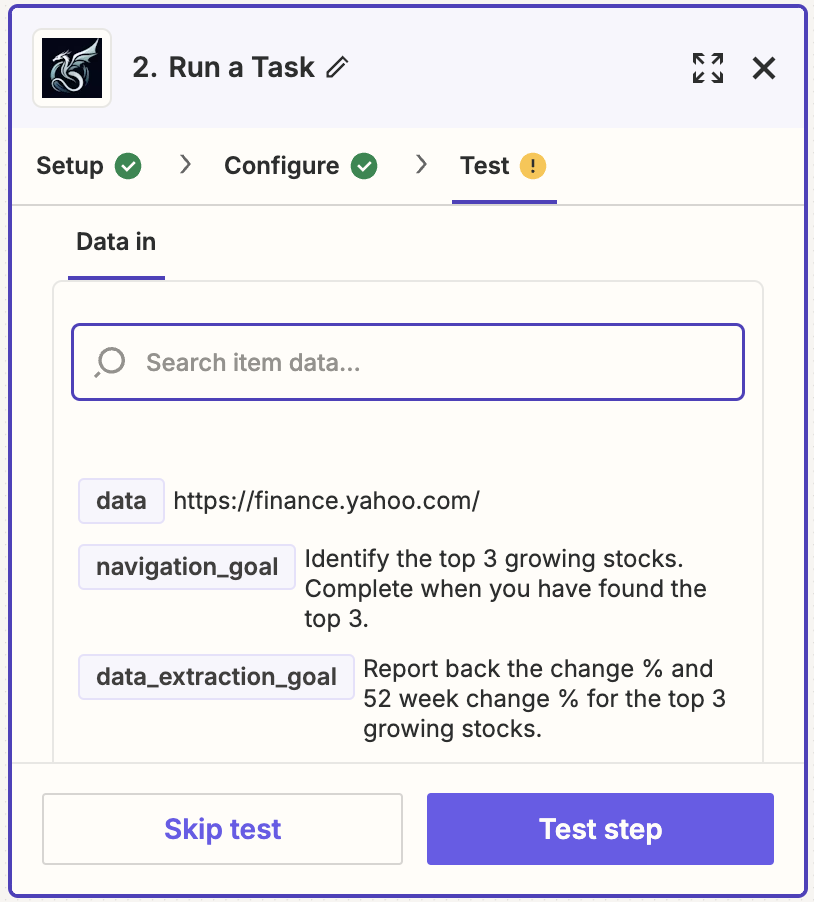
Field reference
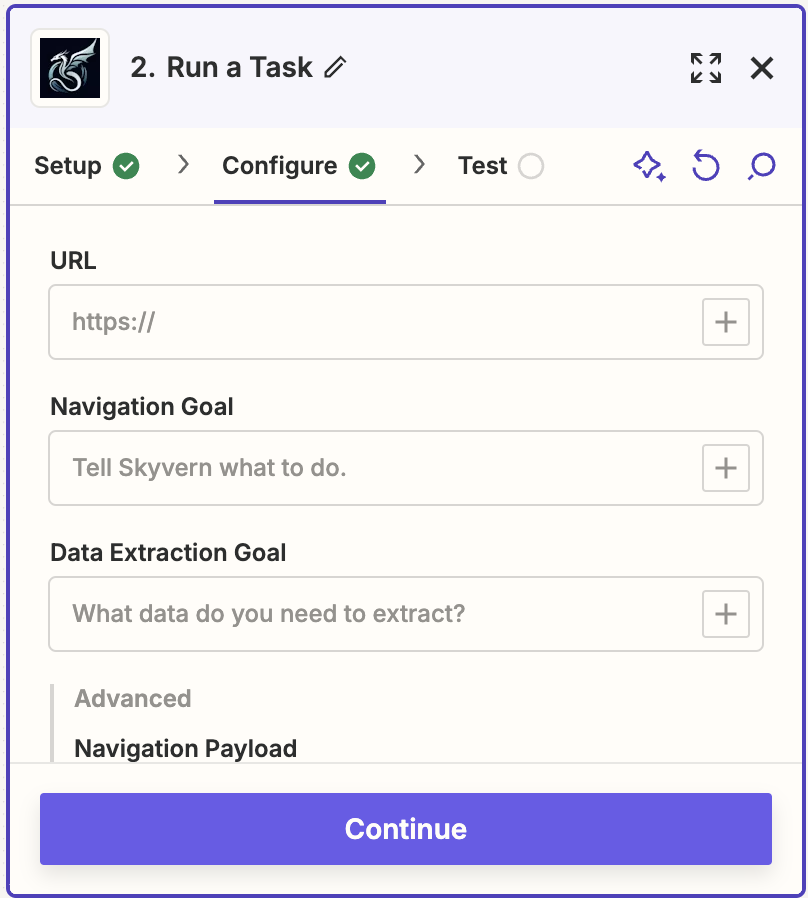
Create and Run a Task
- URL (required) — The starting page for the automation
- Navigation Goal — What Skyvern should do on the page. Omit if only extracting data.
- Data Extraction Goal — What data to pull from the page
- Navigation Payload — JSON input data for forms. Lets you reuse the same task with different data.
- Extracted Information Schema — JSON schema defining the shape of extracted data
- Webhook Callback URL — URL to notify when the task finishes
- Max Steps — Cap the number of steps to control costs
The navigation goal describes what to do after loading the URL. Don’t include “go to website X” — use the URL field instead.
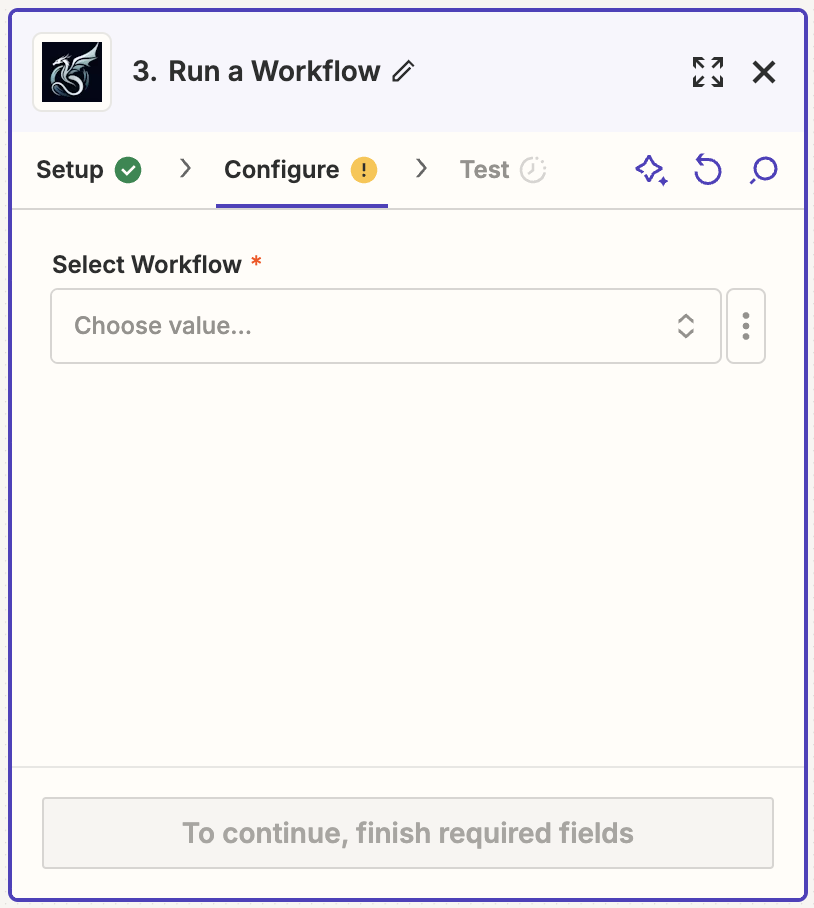
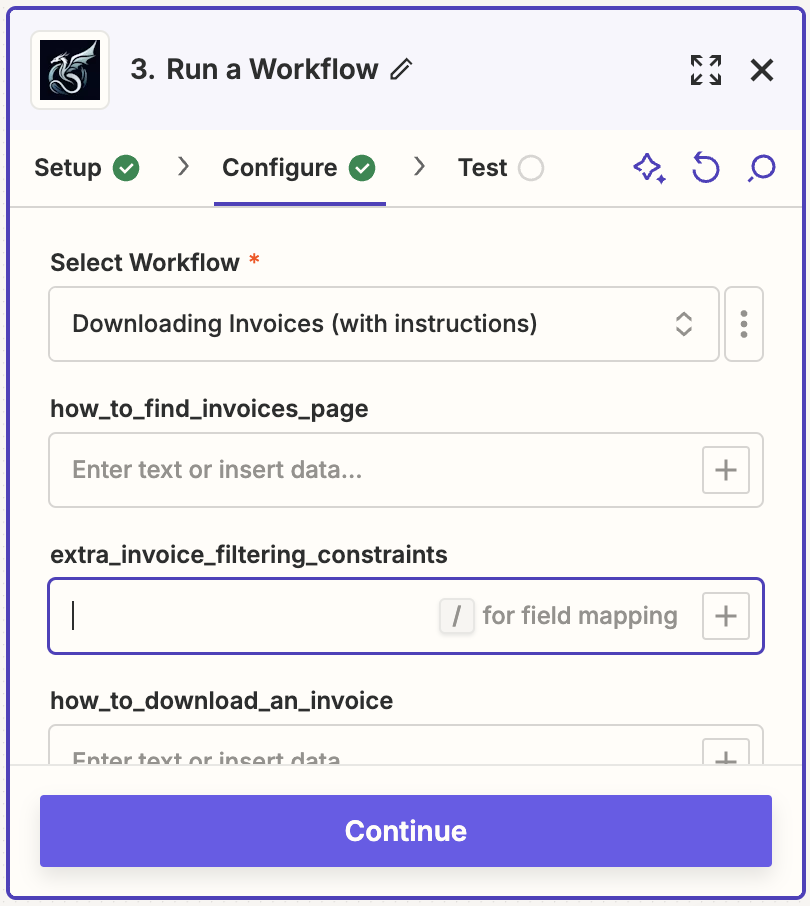
Run a Workflow
First, create your workflow in the Skyvern UI.- Workflow (required) — Select the workflow to run
- Parameters — Fill in any parameters defined in your workflow
Get a Task / Workflow
Retrieve the output of a completed run.- Task ID (required) — Starts with
tsk_ - Workflow Run ID (required) — Starts with
wr_

Next steps
Build Workflows
Create reusable multi-step automations in Skyvern
Use Webhooks
Get notified when tasks complete